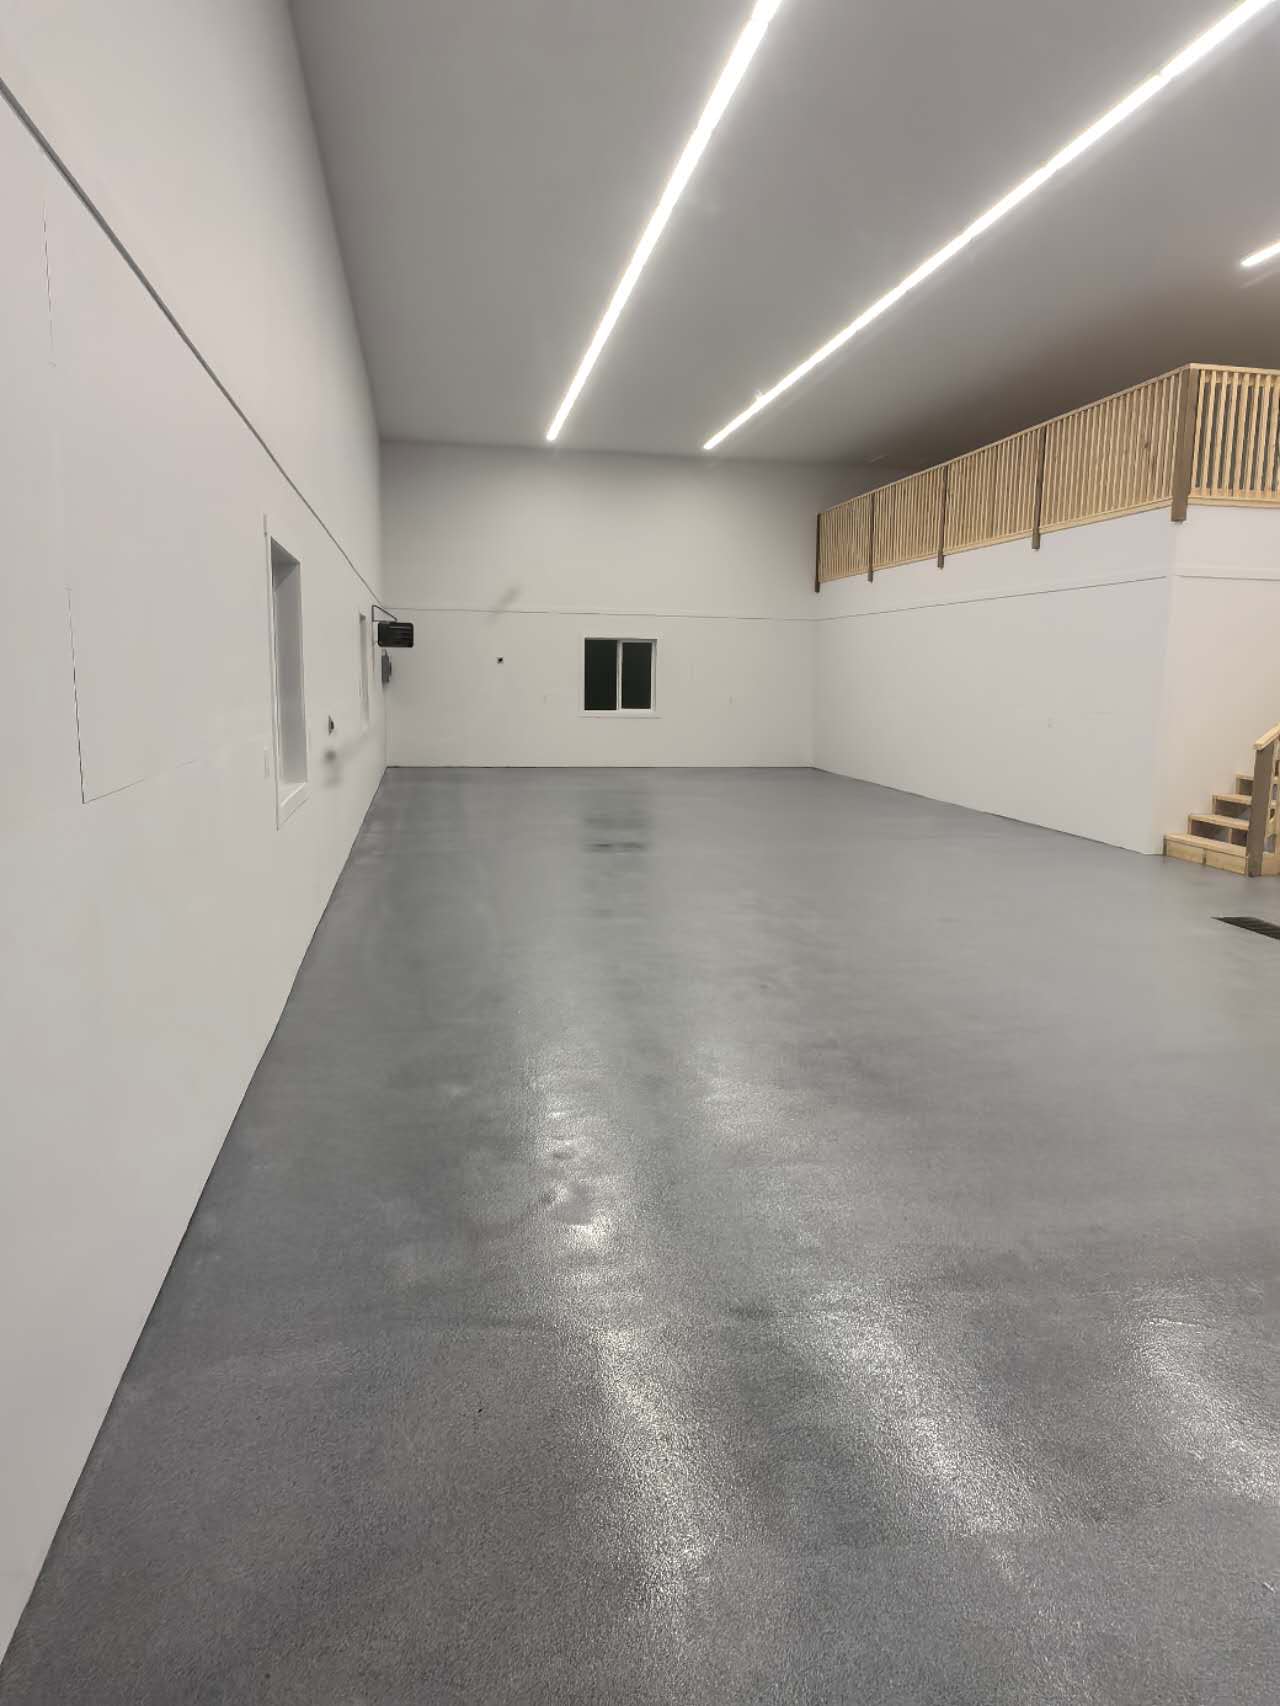
We don't take shortcuts. Every project follows the same proven 7-step process — that's why our floors are built to last. From the first site visit to the final walkthrough, here's exactly what to expect.
The number one reason epoxy floors fail is improper surface preparation. Most contractors skip the grinding, skip the moisture testing, and skip the primer cure time — because cutting those steps saves them hours and money.
The result? A floor that looks great for six months and then starts peeling from the edges. We've re-done dozens of floors that other companies installed. We've seen exactly what happens when the process is rushed.
At Deluxe Coating, we follow every step — every single time. That's not a marketing promise. It's why we can offer a 5-year warranty without hesitation.
From the first phone call to the final warranty document — here's every step we take to ensure your floor is built to last.
We visit your site, inspect the concrete condition, measure the area, and provide a detailed written quote. We'll ask about your use case, traffic patterns, and aesthetic preferences — so we can recommend the right system for your specific needs.
No pressure, no surprises. The quote is detailed and fixed — what we quote is what you pay.
Before any work begins, we test the concrete for moisture content using a relative humidity probe. We also perform a calcium chloride test and check for existing sealers, hardeners, or previous coatings that could cause adhesion failure.
This step prevents the most common coating failures. Moisture trapped under an epoxy coating is the leading cause of delamination — and it's 100% preventable with proper testing.
Using professional planetary diamond grinding equipment, we mechanically abrade the entire concrete surface to open the pores and create a profile for the epoxy to bond to. This step is the most critical in the entire process — it's also the one cheap contractors skip.
A properly ground surface has a CSP (Concrete Surface Profile) of 3–4 — similar to medium sandpaper. This profile is what makes the coating permanent. Without it, you're just painting on a sealed surface that will eventually fail.
After grinding, we inspect every inch of the surface for cracks, spalls, chips, and control joint damage. All defects are filled and feathered level using epoxy repair mortar or polyurea crack filler — chosen based on the size and nature of each defect.
A flat, repaired surface is the foundation of a perfect finish. Cracks left unfilled will telegraph through the coating over time. We never skip this step, even on surfaces that look clean.
We apply a penetrating industrial-grade epoxy primer that soaks into the freshly ground concrete and bonds chemically at the molecular level. This primer layer is what makes the coating truly permanent — it becomes part of the concrete, not just something sitting on top of it.
On surfaces with elevated moisture, we use a moisture-mitigating primer to create a vapour barrier. The primer must fully cure before the next coat is applied — rushing this step causes delamination.
The main coating layer is applied — standard solid-colour epoxy, metallic pigment system, full-flake broadcast, or polyaspartic depending on your chosen system. For flake systems, decorative vinyl chips are broadcast into the wet epoxy at full rejection before a clear topcoat seals everything in.
Multiple coats are applied for durability. The final topcoat is a UV-stable polyaspartic that resists hot tire pickup, chemical staining, and UV yellowing. This is what gives the floor its gloss level and long-term protection.
Once the floor has fully cured, we walk the entire surface together. We inspect for any imperfections, review the care and maintenance instructions with you, and answer any questions about long-term upkeep.
You'll receive your written warranty documentation — for residential projects, that's a 5-year warranty. We also note your project in our system so that if you ever have a question or concern years down the road, we have your full project history on file.
Installation time depends on the size of the area and the system chosen. Here are typical timelines for common project types.
Prep day + coating day. Car back inside in 24 hrs.
Same-day prep and prime; topcoat applied next morning.
Extended prep time; multiple coating layers required.
Often done over a long weekend. Back to business Monday.
Phased sections to maintain partial operations where possible.
Book a free on-site estimate and we'll walk you through the process in person. No obligation — just a clear plan and an honest price.